Setting up NUnit 3 in Visual Studio is a simple task, but if you don’t know what you need to do, there are a few ways you can easily get stuck. To help you avoid loosing time I put together all the steps you need to follow to get you up and running.
The steps to setup Visual Studio are the following:
- Open Visual Studio 2013
- In the menu bar go to TOOLS > Extensions and Updates
- On the sidebar select Online and then type nunit on the search bar
- Install NUnit Templates for Visual Studio
- Install NUnit3 Test Adapter
- Restart
OK, now your system is ready. Let’s add a test project to your solution
- Open your solution
- In the menu bar go to FILE > Add > New Project…
- On the sidebar select Installed > Visual C# > Test
- On the main panel select NUnit 3 Unit Test Project and choose a proper name (like UnitTests)
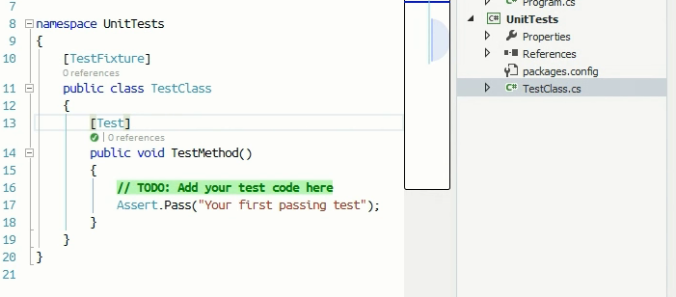
- In the new project you wil find a file named TestClass.cs, open it
- In the menu bar go to TEST > Run > All Tests
The last step will build and run all the tests in your solution (1 for now). A window with the test results should popup, otherwise go to TEST > Windows > Test Explorer to bring it up.
The test should pass and be marked as green. Otherwise write a comment to this post and I’ll help you solve this problem.
The following video shows all the steps you need to follow
